If you’re running a VPS or dedicated server with WHM/cPanel, you may encounter limitations when sending large email attachments. By default, Exim, the mail transfer agent used by WHM/cPanel, restricts the maximum email size (including attachments) to 50 MB. For businesses that need to send large files via email, this default setting can be restrictive.
In this tutorial, we’ll walk you through how to check and increase the email attachment size limit in Exim using both the command line and the WHM interface.
Check Current Email Size Limit in Exim (Command Line)
Before changing the limit, it's a good idea to verify the current setting.
-
Step 1: Access Your Server via SSH
Use SSH to log into your server as the root user:
#ssh your_username@host_ip_address -p port_number -
Step 2: Run This Command to Check the Limit
# exim -bP | grep message_size_limitYou’ll see an output similar to:
Ex. message_size_limit = 50M
This means the current maximum size allowed for an email (including attachments) is 50 MB.
How to Increase Email Attachment Size in WHM
To raise the email size limit without using the command line, you can make the change directly from WHM.
-
Step 1: Log in to WHM
Access your WHM panel using your root credentials.
-
Step 2: Go to Exim Configuration Manager
From the WHM dashboard, navigate to:
Home » Service Configuration » Exim Configuration Manager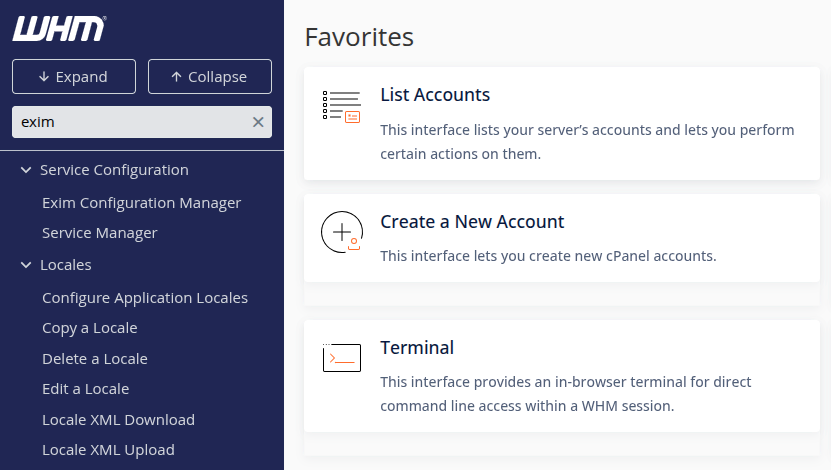
-
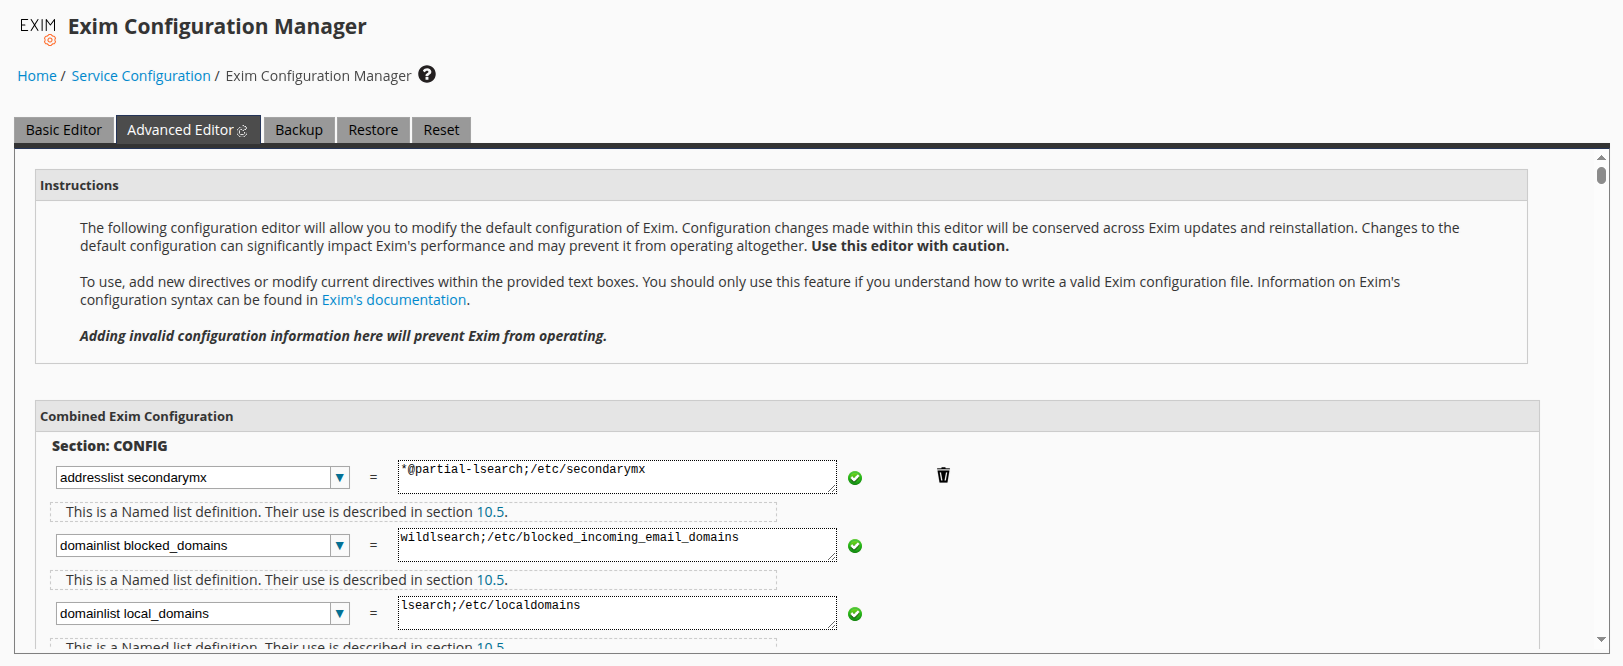
Step 3: Open the Advanced Editor
Click the "Advanced Editor" tab. This section allows you to define advanced Exim configurations.
-
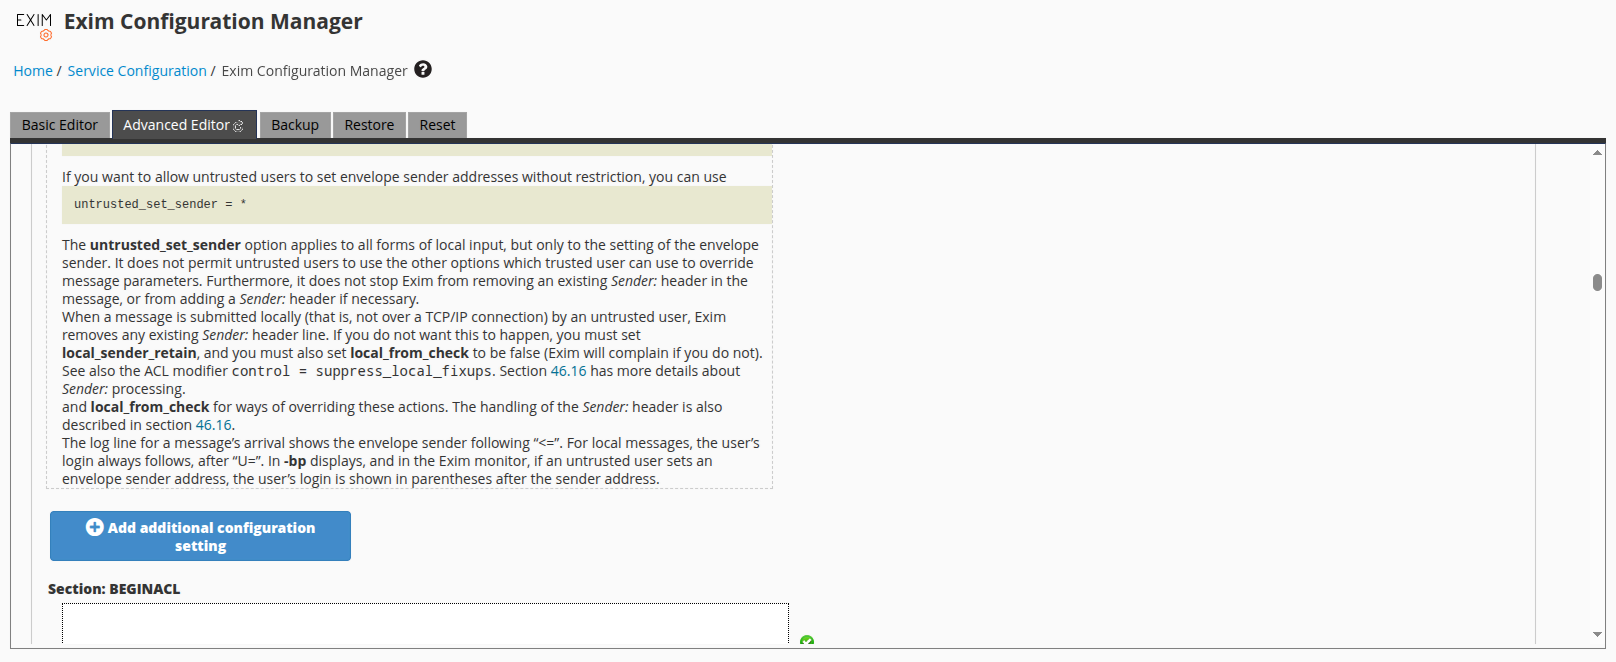
Step 4: Add a New Configuration Setting
Scroll down and click on the "Add additional configuration setting" button.
-
Step 5: Locate
message_size_limitIn the new configuration field, type or select
message_size_limit.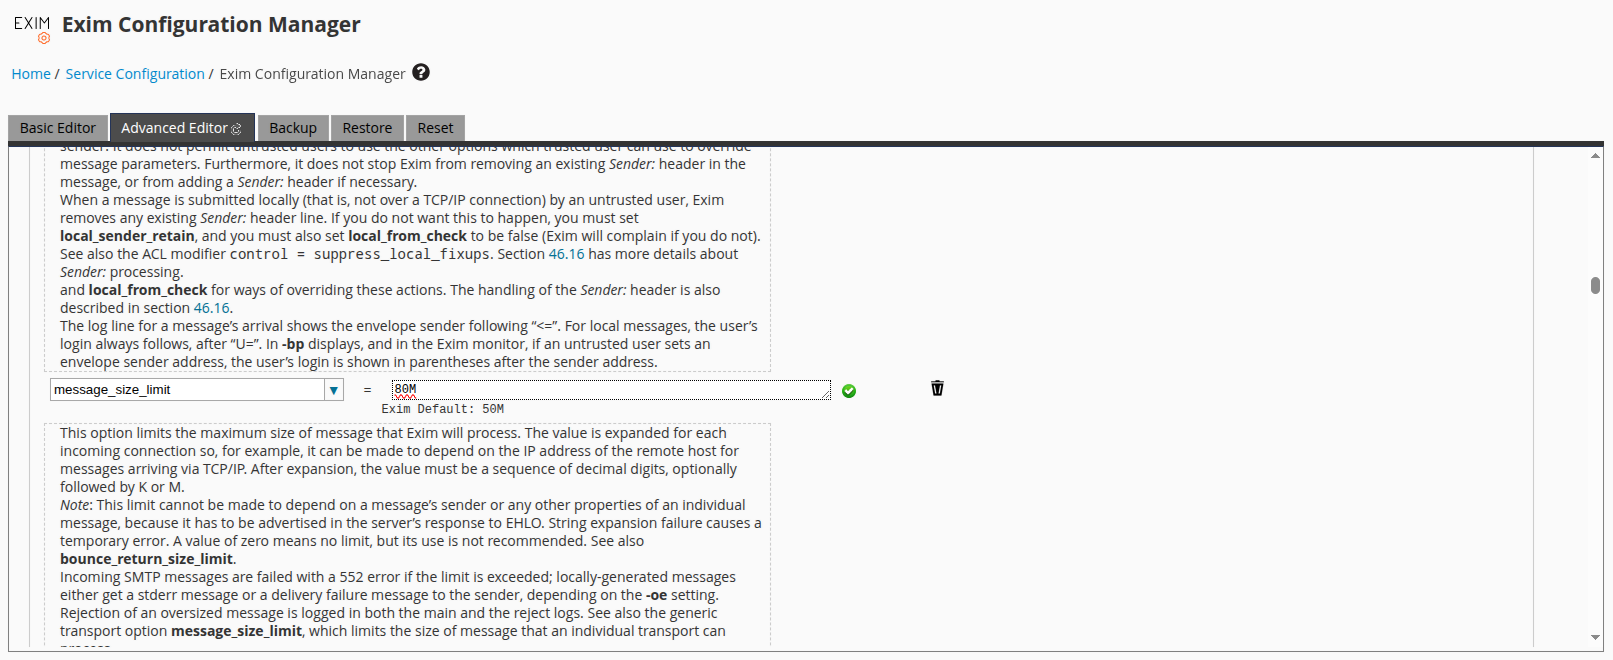
-
Step 6: Set a New Value
In the value field, input the new size limit. For example, to increase the limit to 80MB, enter:
80M💡 We recommend keeping the value below 100M to avoid mail delivery issues with certain mail servers.
-
Step 7: Save Changes
Scroll to the bottom of the page and click “Save”. WHM will apply the new configuration and restart Exim if necessary.
Note on Domain-Specific Limits
Keep in mind that Exim doesn’t support setting a different email size limit for individual domains or email addresses. The limit you set applies server-wide.
Final Thoughts
Whether you're running a hosting business or managing corporate email services, ensuring that your server supports adequate email attachment sizes is essential. By increasing the message_size_limit in WHM, you can accommodate larger files and avoid frustrating email bounces due to size constraints.
COLO BIRD recommends regularly auditing your email server settings to align with your business needs and ensure smooth communication across your infrastructure.